Sunday, September 13, 2015

The Lace Edged Prayer Shawl - Part 1

I'll admit, not actually lace edged. 


This shawl was meant to use up the leftover One Pound Carron. That... didn't turn out the way I thought. Halfway through I ran out of yarn so I had to join another pound of yarn. You should never have to join pounds of yarn together. And how will I use up the rest of this yarn? This was not a well thought out plan.


I wanted to do something like the yarn overs from the triangular prayer shawl but with a rectangle. Have to say, it's really boring. At least I'm mostly done.

Tuesday, September 1, 2015

Seahawks Hat - Part 2


Done after five minutes on the DPN. And of course I'm making another one with the leftover yarn.

Materials used:
Main color: 220 Superwash Aran, Blue Velvet
Secondary color: 220 Superwash Aran, Green Apple
Tertiary color: 220 Superwash Aran, White
Size 7 16"circular needles, Size 7 DPN
Based on http://www.ravelry.com/patterns/library/hawks-hat

Sunday, August 23, 2015

Seahawks Hat, Part 1

Do you know what's great? Fair Isle Knitting. If I had known how much I love this, I'd have picked it  up years ago. 

See this? This is the beginning of a Seahawks hat, knitted in about 4 hours. There's the complexity of cabling with the color variation of intarsia without the hassle of a cable needle and bobbins.


Even using a color chart for the first time was simple - read right to left and knit the right color. Much easier than I thought possible.


The only reason this hat wasn't done in a week is because I'm missing size 7 DPN and my local yarn store was out of stock. Once those get ordered, I'm finishing this hat and making another copy.

Friday, August 7, 2015

The Stockinette Prayer Shawl

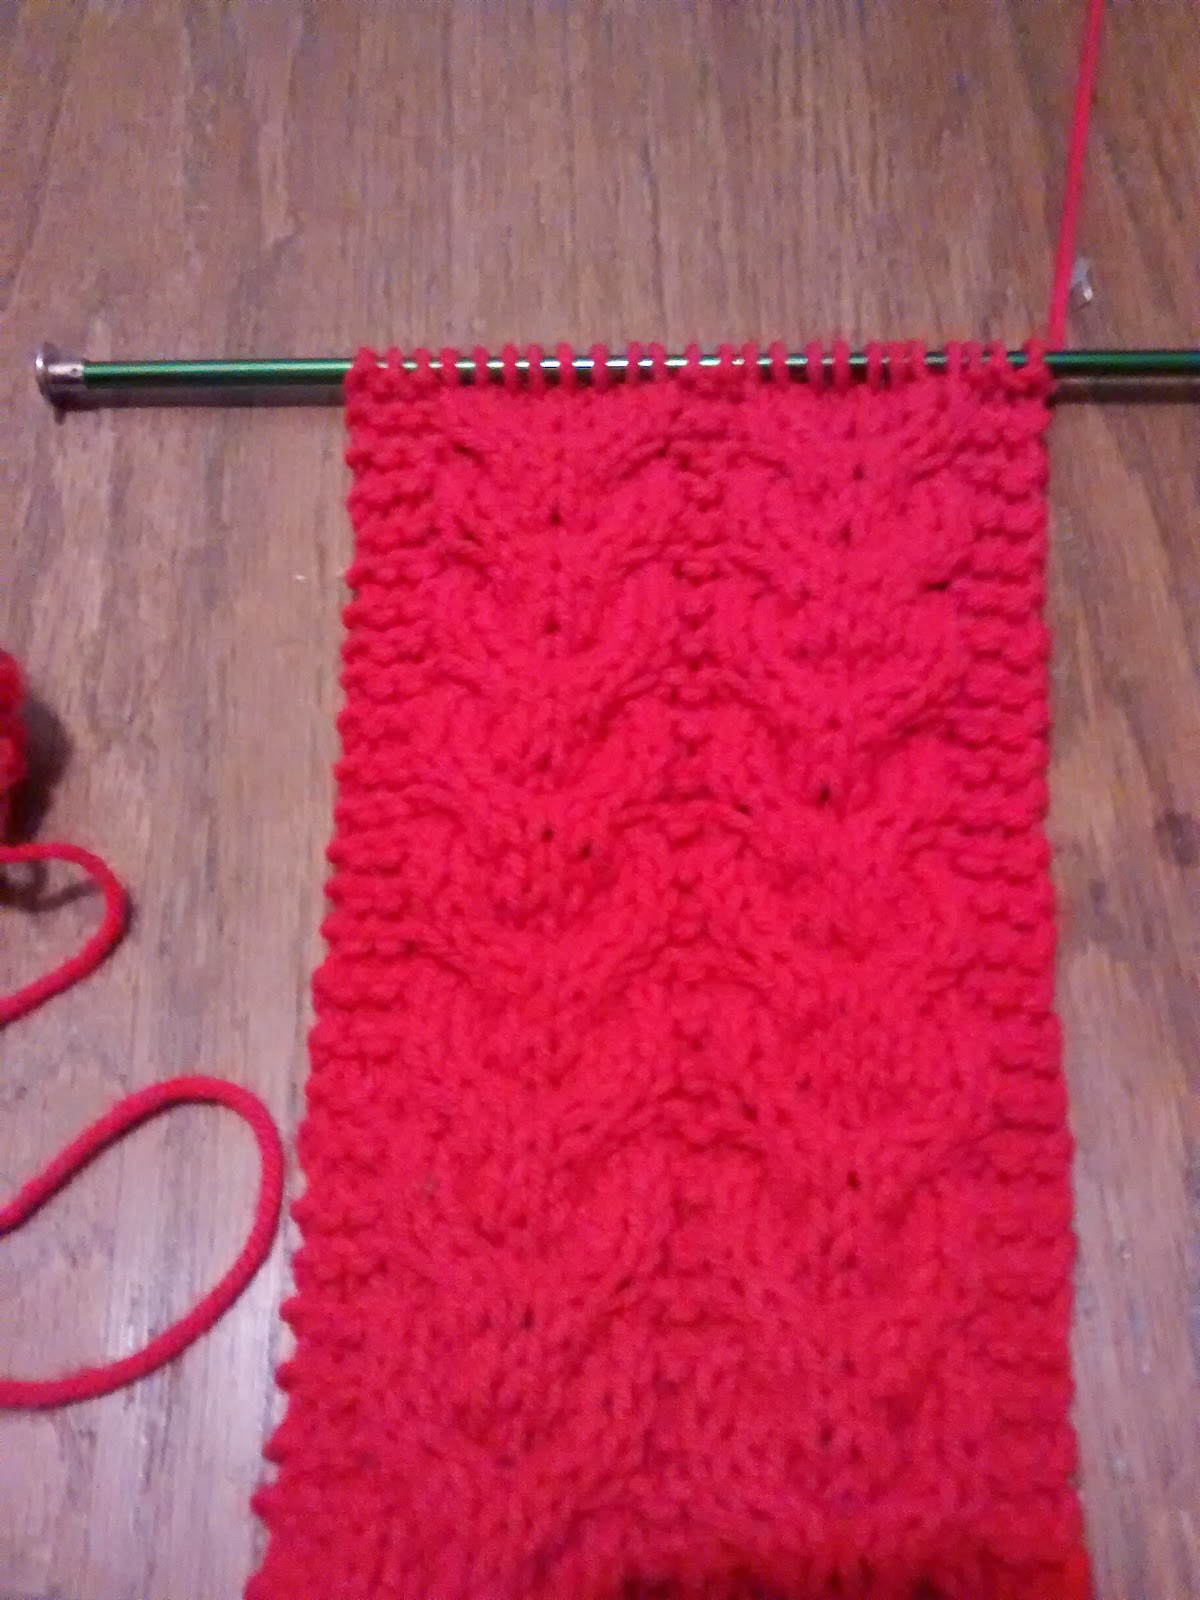
 I realized recently that I still have a ton of the one pound Carron yarn. And since I didn't want to count the rows of a baptismal blanket, I went with the standard prayer shawl. Well, not exactly standard: the body of the shawl is stockinette, not garter stitch.


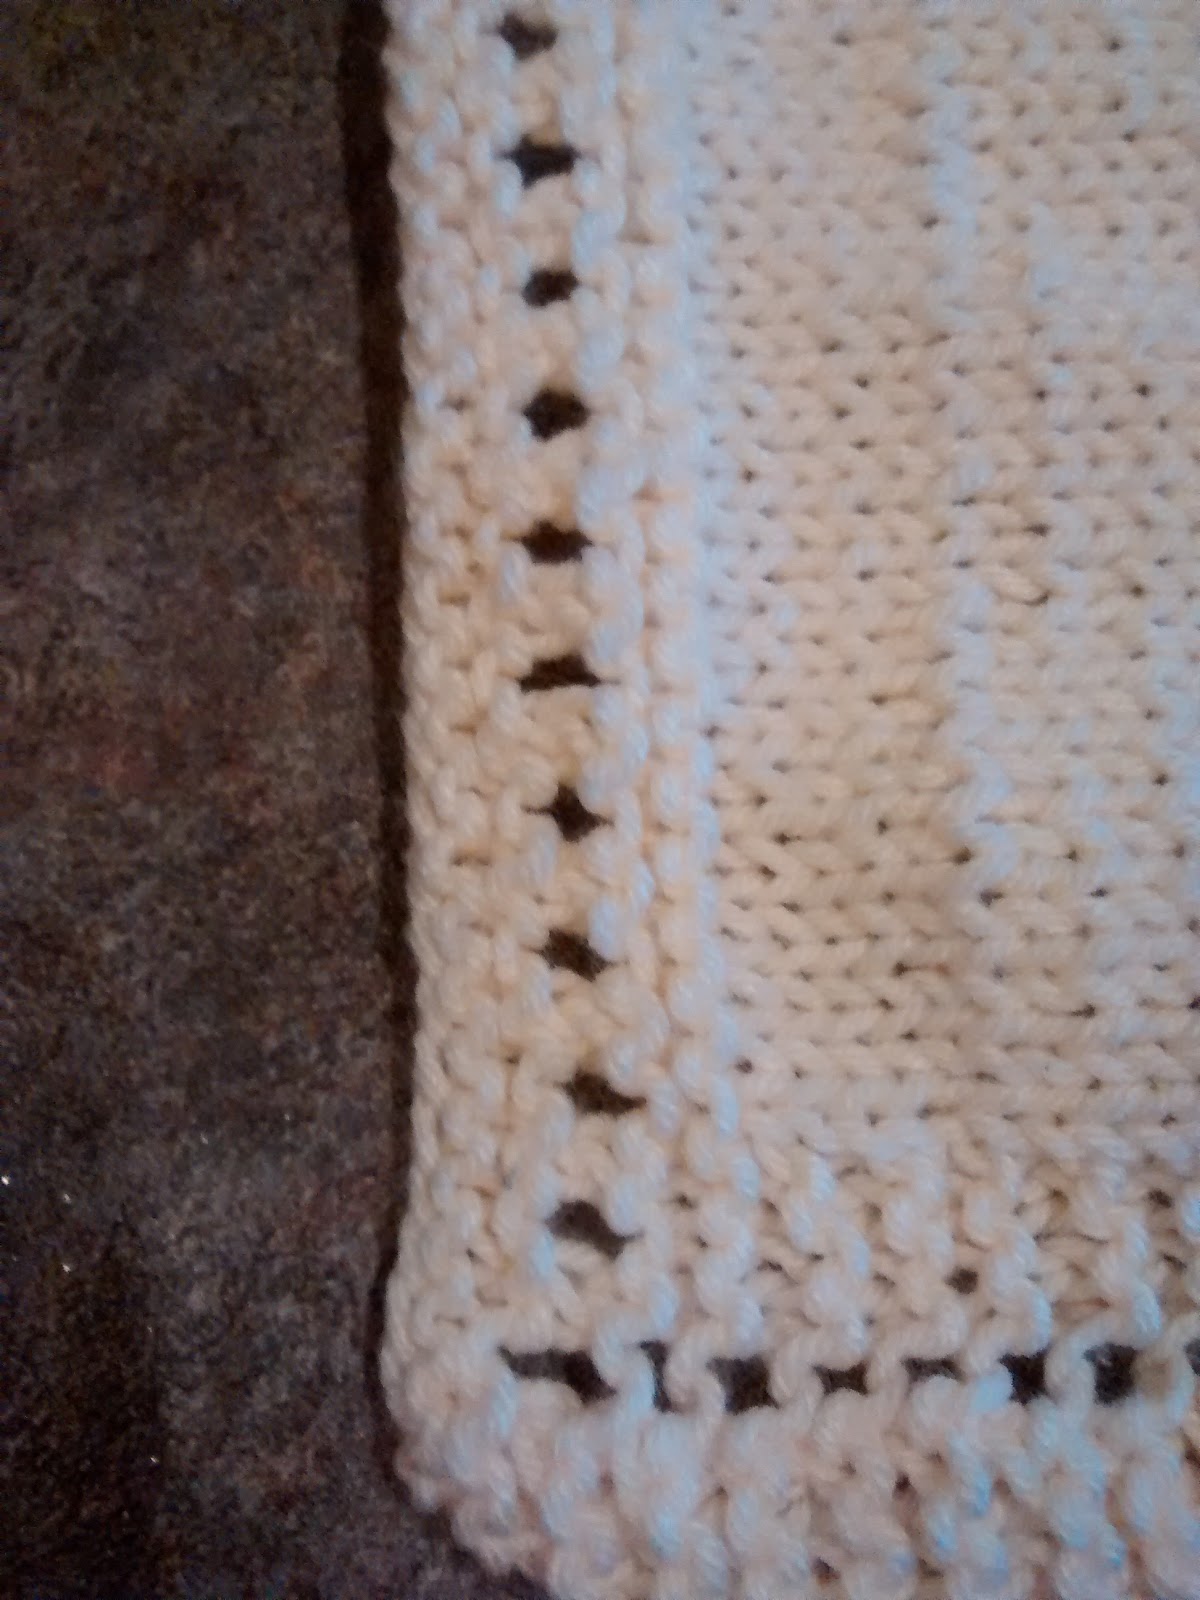
The stockinette isn't curling because I added a border of garter stitch around it. Each row begins with three knit stitches, a yarn over, and three knit stitches, and ends with six knit stitches.


The edging here is far nicer and cleaner than when the shawl is knit with Homespun yarn.


Here's the pattern, knit with Carron One Pound yarn on size 8 circular needles:

Cast on 1 stitch.
Row 1: KF&B
Rows 2-5: KF&B, K to the end of the row
Rows 6-13: K3, YO, K to the end of the row
Row 14: K3, YO, P* to the last six stitches, K 6
Repeat rows 13-14 until the shawl measures about 30" long. End on a knit row.
For 4 rows: K3, YO, K* to the end of the row

Finish the shawl as in the original instructions:
Row 1: K3, (YO, K2TOG)* to the last three stitches, YO, K3
For 4 rows, KF&B, K* to the end of the row
Bind off


Tuesday, July 7, 2015

The Pendleton Crocheted Woolen Rug

Ever wondered what six pounds of woolen blanket selvedge look like? 


It looks like a huge mess.


This wonderful stuff comes courtesy of Pendleton Woolen Mills where, for the low, low price of $3/lb, you can buy blanket selvage for crafts. Six pounds plus shipping came to around $32. 


What did I want with all of this selvage? To make a rug, of course! This stuff is so thick, it makes a great woolen base.  


I started with one ball of scrap, 10 chain stitches and a size S hook. If you've never seen a size S hook before, it has the diameter of a shower curtain rod. Given that my normal size G hook is narrower than a chopstick, it took a while to get used to. But single crocheting in the round couldn't be easier. It's not like the stitches need to be perfect.


This is about 2/3 done. Each scrap ball can be crocheted in about 30 minutes, which goes by really quickly while watching TV. I got this far in five days.


When one ball was finished, I pulled some of the frilly bits from the end of the scrap and the beginning of the next scrap to tie them together.


No added bulk.


I chained one whenever I thought the rug was curling inward. Towards the end I added a few too many stitches which lead to some ripples. Luckily, those could be stamped out.  


The end product was mostly round. Instead of single crocheting the last ball as I did for the rest of the rug, I simply did slip stitches around the border. 

This was much easier than I had imagined, though crocheting wool in 90 degree heat was not my smartest idea. 10/10, would crochet again.

Saturday, June 20, 2015

Intarsia: The Flag of London


Domine Dirige Nos

I wanted something simple for my first intarsia project. Thus: the Flag of the City of London. Two colors, no stripes, and no zigzags. Should be simple, right?


Right?

I ended up with four bobbins, two red, two white, along with the pound of yarn that was the main strand. I had to unknit through the intarsia at least four times, and reknitting becomes far harder when you can't tell which side to start on.

It turned out alright in the end, even though I messed up the flag design.


I can't decide if I want to redo this pattern or try another one. There's plenty of time to choose - my next project involves crocheting six pounds of wool scraps. Let's see how that goes...

Saturday, June 6, 2015

Cabled hats

Been working on a couple of things. First up is the antler hat. The pattern is a bit boring but I liked how the curling branches turned out. This had more slouch than I expected. 


The second hat was a blackberry hat, made for a friend's birthday. She likes wearing hats back behind her ears so I needed something short and far less slouchy than the antler hat.


The pattern has an actual braid it in and I plan to use it in a scarf. Knitting in the round isn't fun to start but cabling has been easier than I ever thought it would be. No more hats though.

Next up: intarsia


Sunday, April 5, 2015

The Double Cabled Red Scarf (Part 2) + The Single Twist Red Scarf

And at 60 inches, my first cabled scarf is done.


Strangely, the pattern got boring at the end. You wouldn't think tracking four tiny cables would be boring, would you? But I finished this while watching Leverage.

That made my next pattern a bad choice. There's only one row of cabling every six rows and it doesn't change. Makes it easy to knit, for sure. If I had discovered this pattern earlier, I would have been cabling years ago. It's already at 56 inches.


I admit that's bad light for details. Next time I'll remember to take pictures in natural light.

Sunday, March 15, 2015

The Double Cabled Red Scarf (Part 1)

Why am I making yet another scarf that I won't wear? Because my church knitting circle knits red scarfs for college bound foster kids and I wanted to try something new. Which brings me to...

Cables!

After five years of knitting, I finally learned to knit with cables, which isn't as difficult as it looks. The pattern below is LW4282 from Red Heart. It's described as intermediate but the cabling stitches are easy to understand and now I don't need to look at the pattern. I've also stopped nearly stabbing myself with the cabling needle.


The worst part is dropping a stitch. I have to rip out three rows to get back to the right side of the pattern and hope I don't make another mistake during the fix. Beyond that, this pattern is about as simple as the prayer shawls.

Saturday, February 28, 2015

Replacing a necklace clasp

A few years ago my mom gave me a necklace which I never wore because I could never figure out the clasp.

 The necklace in question

 The offending clasp

This clasp is called a screw clasp and works exactly like you would expect, by screwing the ends together. Of course, in a necklace, you can't see the clasp so getting the ends together is a challenge. To make matters worse, the plastic necklace string was tied off in the clasp and tended to lie on the threads so I could never get it to work. 

A better view

 If I ever wanted to wear this necklace, the clasp had to go. JoAnn didn't have a good selection of necklace clasps but I found a suitable replacement.

A sensible toggle clasp and new necklace wire

Cutting the original string gave me some beads to start with. I tied the new wire on the toggle in a square knot and threaded a dozen beads onto the wire. The terminating end of the knot I also tucked into the beads so it wouldn't bother me. This secured the wire end in the necklace.


Restringing the necklace went well and I only lost two or three beads.


I tied the wire off on the other toggle end and strung the wire end back into the beads. The beads aren't completely flush with the clasp but that doesn't concern me.

With a toggle clasp, I have finally wore this necklace.