One of the four hats I have to make for my millinery class is a straw hat.
My inspiration for this was a hat hanging on the wall of my grandmother's house:
I ordered the straw body from ManHatCo, like the felt hat, but I didn't feel the need to pull it because I already liked the shape.
I first needed to make the lining so my hair wouldn't get caught on the straw. The lining was a piece of white fabric sewed into a tube about 8 inches tall and roughly the width of my hat around.
I put a drawstring in at one end and sewed the other edge to the end of the crown.
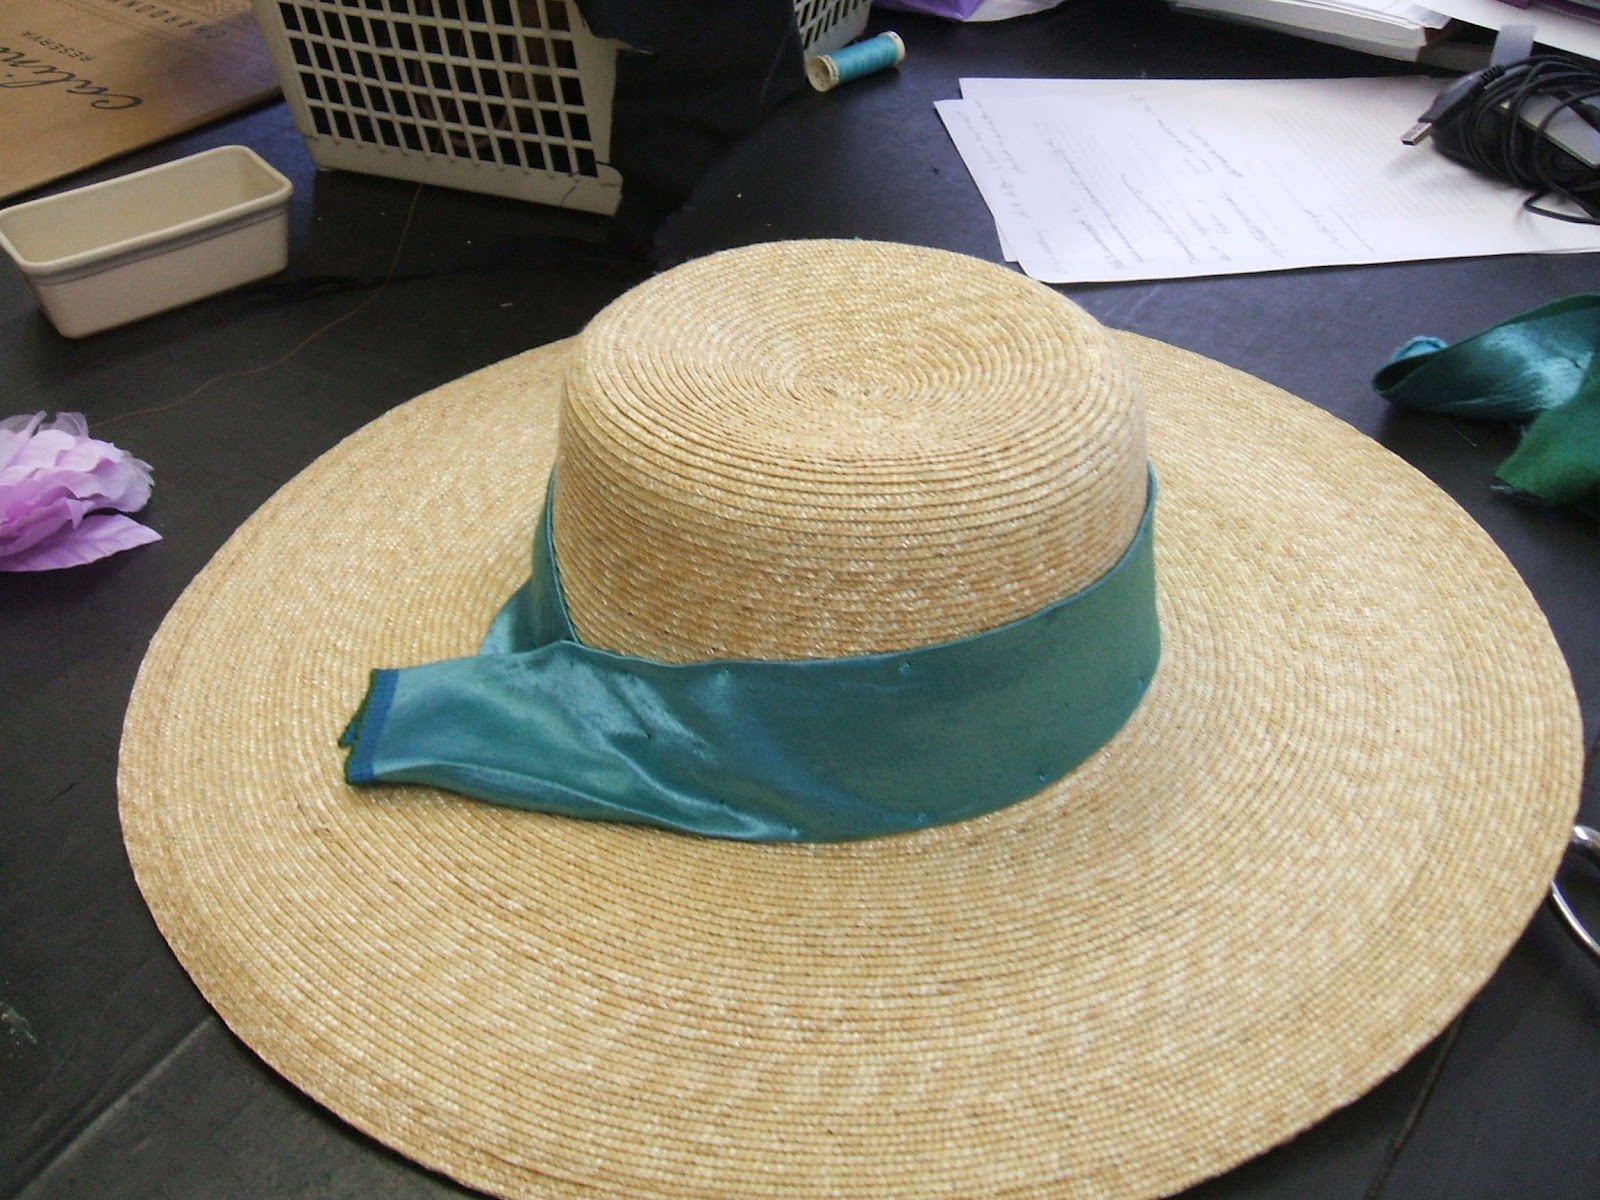
I then took a piece of shiny blue fabric about 4 inches wide and 30 inches long and ironed the edges down so that it appeared to be a ribbon 2 inches wide. This meant I didn't have to sew an edge because the raw edge was already turned back.
I then hand stitched the ribbon to the hat.
I made a bow out of white ribbon about 6 feet long and tacked that to the back of the hat, where the edges of the blue fabric meet. You can't see it here, but the ribbon ends are cut at a diagonal to prevent fraying.
I tacked a fake flower that I got at Hancock's on top of the loop to hide the other stitches. I also pulled the drawstring in the lining up and stitched the top of the lining to the top of the hat. Previously, it had only been attached by the brim.
Finally, I used what was left of the white ribbon to make ribbons to tie under the chin. Otherwise, the hat was likely to blow off my head.
From the back:
From the side:
From the inside:
And there you go! A straw hat perfect for Easter or a fancy outdoor event.