Another hat down!
Previously
Friday, April 27, 2012
Tuesday, April 24, 2012
The Cavalier Hat - Crown and Brim
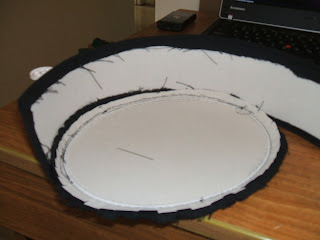
I spent a good portion of the last week putting the brim together. I cut out two pieces of fabric to fit the brim, with a large amount of seam allowance. I basted one piece to the buckram and sewed along the outer wire edge to hold it in place. The seam allowance was folded over the wire.
I then laid the second piece on the other side and folded the seam allowance underneath the main body of fabric, next to the buckram. This created a fold at the wire edge so that the seam allowance couldn't be seen. I blind hem stitched this fold to the fabric folded over the wire edge to hold it in place.
When that was finally done, I used the machine to sew along the inner wire edge - where the crown goes. I cut out the fabric in the middle and clipped the seam allowance.


It turns out that the crown was somehow larger than the space provided for it on the brim, so backstitching the crown to the brim created a few bumps. Hopefully that should be covered by the ribbon.

I also cut out some lining and hope to get that done soon.
I then laid the second piece on the other side and folded the seam allowance underneath the main body of fabric, next to the buckram. This created a fold at the wire edge so that the seam allowance couldn't be seen. I blind hem stitched this fold to the fabric folded over the wire edge to hold it in place.
When that was finally done, I used the machine to sew along the inner wire edge - where the crown goes. I cut out the fabric in the middle and clipped the seam allowance.


It turns out that the crown was somehow larger than the space provided for it on the brim, so backstitching the crown to the brim created a few bumps. Hopefully that should be covered by the ribbon.


I also cut out some lining and hope to get that done soon.
Friday, April 20, 2012
The Felt Cavalier Hat
This semester I am also making a felt cavalier hat in addition to the one made from buckram.


The felt body was ordered from ManHatCo, like the other felt hat and the straw body.

First, I soaked the felt body in warm but not hot water.

I stretched the felt over a regular hat form and a wooden 'donut'.

Another 'donut' went over the brim in order to hold it flat. I suspect I will have to re-wet the brim and weight it down with wood in order to get it to lie flat.


Hopefully this will be dry by Monday so I can continue working on the brim.


The felt body was ordered from ManHatCo, like the other felt hat and the straw body.

First, I soaked the felt body in warm but not hot water.

I stretched the felt over a regular hat form and a wooden 'donut'.

Another 'donut' went over the brim in order to hold it flat. I suspect I will have to re-wet the brim and weight it down with wood in order to get it to lie flat.


Tuesday, April 17, 2012
Working on the Buckram Hat - The Crown
So I have cut out and sewed together the fabric and the buckram for the crown of my cavalier hat. That bit was easy; I just had to baste stitch the fabric to the buckram and sew along the seam allowance with the machine.


Then I had to sew the top part of the hat, the tip, to the sideband. I did this by clipping the curve of the tip and folding the seam allowance perpendicular to the plane of the hat.
I then stitched the sideband to the seam allowance, carefully butting the edge of the sideband up against the inner edge of the seam allowance. This was done in backstitch and it took forever.

I don't have a picture, but this part is done now.


Then I had to sew the top part of the hat, the tip, to the sideband. I did this by clipping the curve of the tip and folding the seam allowance perpendicular to the plane of the hat.
I then stitched the sideband to the seam allowance, carefully butting the edge of the sideband up against the inner edge of the seam allowance. This was done in backstitch and it took forever.


I don't have a picture, but this part is done now.
Friday, April 13, 2012
The Straw Hat
One of the four hats I have to make for my millinery class is a straw hat.
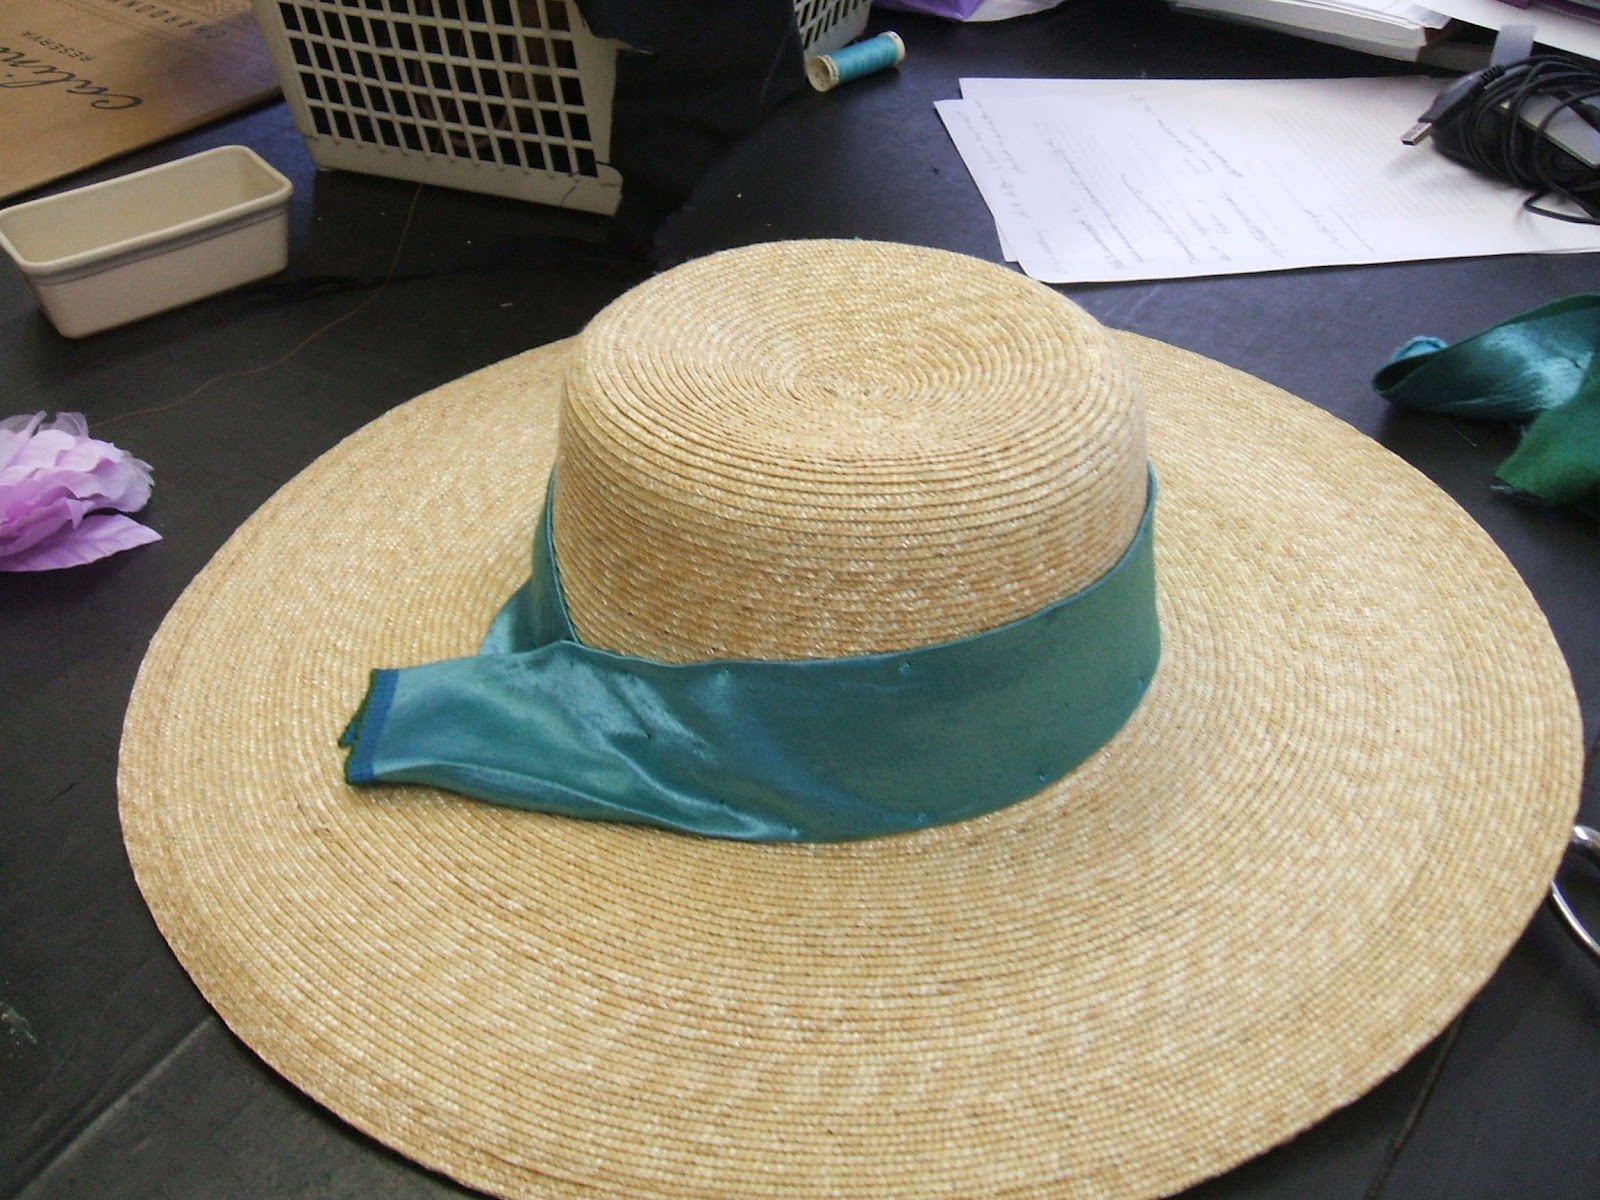
My inspiration for this was a hat hanging on the wall of my grandmother's house:

I ordered the straw body from ManHatCo, like the felt hat, but I didn't feel the need to pull it because I already liked the shape.
I first needed to make the lining so my hair wouldn't get caught on the straw. The lining was a piece of white fabric sewed into a tube about 8 inches tall and roughly the width of my hat around.
I put a drawstring in at one end and sewed the other edge to the end of the crown.


I then took a piece of shiny blue fabric about 4 inches wide and 30 inches long and ironed the edges down so that it appeared to be a ribbon 2 inches wide. This meant I didn't have to sew an edge because the raw edge was already turned back.


From the back:

From the side:


And there you go! A straw hat perfect for Easter or a fancy outdoor event.
My inspiration for this was a hat hanging on the wall of my grandmother's house:

I ordered the straw body from ManHatCo, like the felt hat, but I didn't feel the need to pull it because I already liked the shape.
I first needed to make the lining so my hair wouldn't get caught on the straw. The lining was a piece of white fabric sewed into a tube about 8 inches tall and roughly the width of my hat around.
I put a drawstring in at one end and sewed the other edge to the end of the crown.


I then took a piece of shiny blue fabric about 4 inches wide and 30 inches long and ironed the edges down so that it appeared to be a ribbon 2 inches wide. This meant I didn't have to sew an edge because the raw edge was already turned back.

I then hand stitched the ribbon to the hat.

I made a bow out of white ribbon about 6 feet long and tacked that to the back of the hat, where the edges of the blue fabric meet. You can't see it here, but the ribbon ends are cut at a diagonal to prevent fraying.


I tacked a fake flower that I got at Hancock's on top of the loop to hide the other stitches. I also pulled the drawstring in the lining up and stitched the top of the lining to the top of the hat. Previously, it had only been attached by the brim.

Finally, I used what was left of the white ribbon to make ribbons to tie under the chin. Otherwise, the hat was likely to blow off my head.
From the back:

From the side:

From the inside:

And there you go! A straw hat perfect for Easter or a fancy outdoor event.
Tuesday, April 10, 2012
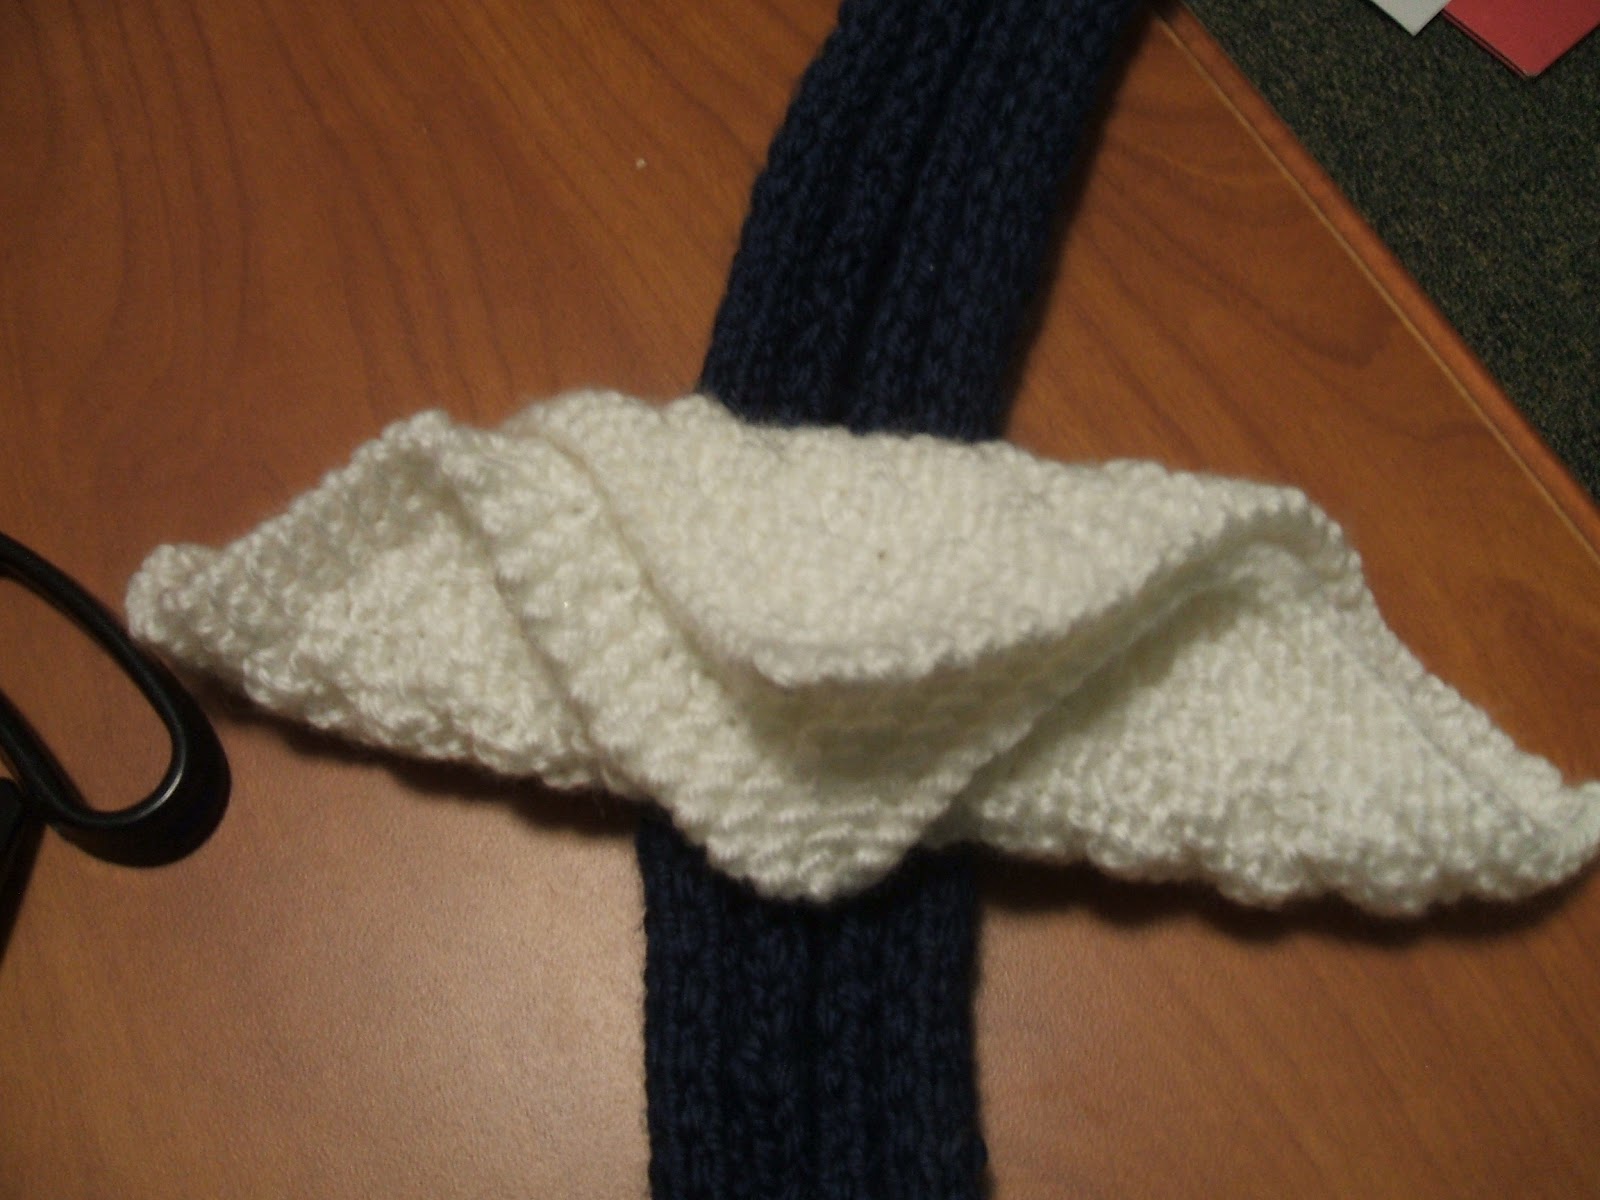
The Pink Scarf - Release 3.0
What can I say? Long thing is long and longer than before. It weighs in at 3' 9".


This yarn has a tendency to slip off the needles, so when I re-thread the needles with the loops, I don't think the loops are always oriented in the same thing.


This yarn has a tendency to slip off the needles, so when I re-thread the needles with the loops, I don't think the loops are always oriented in the same thing.
Friday, April 6, 2012
The Washcloth Doll - Putting It All Together
In this post, I am going to refer to the parts as Washcloth 1, Washcloth 2, and Dishcloth. You can also do this with two manufactured washcloths and a dish towel.
You will also need 5 16-inch lengths of ribbon, yarn, or string, and a pair of scissors.
Displayed below from left to right are Washcloth 1, Washcloth 2, and Dishcloth.


I then took Washcloth 1 and folded it into a triangle, and then folded the point down.


I placed that washcloth halfway along the wrong side of the Dishcloth:

And folded the dishcloth on top of the washcloth:

I then tied the ends of the washcloth together with a ribbon close to the dishcloth and tied another right below the washcloth:

This forms the head of the doll.
I then tucked the rolled up Washcloth 2 inside that fold, as close to the head ribbon as possible, and tied right below that.


There! A hand-made doll. The first Washcloth serves as the arms, the second as the head, and the dishcloth as the body and skirt. If my stockinette dishcloth wasn't curling, you would be able to see the width of the skirt better.
This doll is washable - although you should disassemble it before putting it into washing machine - and useful, because you can then break it down to use as washcloths.
You will also need 5 16-inch lengths of ribbon, yarn, or string, and a pair of scissors.
Displayed below from left to right are Washcloth 1, Washcloth 2, and Dishcloth.

I took Washcloth 2 and rolled it up, tying the ends with two of the ribbons.


I placed that washcloth halfway along the wrong side of the Dishcloth:
And folded the dishcloth on top of the washcloth:

I then tied the ends of the washcloth together with a ribbon close to the dishcloth and tied another right below the washcloth:

This forms the head of the doll.
I then tucked the rolled up Washcloth 2 inside that fold, as close to the head ribbon as possible, and tied right below that.


There! A hand-made doll. The first Washcloth serves as the arms, the second as the head, and the dishcloth as the body and skirt. If my stockinette dishcloth wasn't curling, you would be able to see the width of the skirt better.
This doll is washable - although you should disassemble it before putting it into washing machine - and useful, because you can then break it down to use as washcloths.
Tuesday, April 3, 2012
A Dishcloth - The Washcloth Doll Part 3


Because I didn't find a pattern that I liked, I made up my own:
Cast on 32 stitches.
Row 1: P6, K20, P6
Row 2: K6, P20, K6
Repeat Row 1 and Row 2 'lots'. (Yes, that is what is says in my notes.) I counted the rows and it worked out to 160 rows, so Rows 1 + 2 were repeated 80 times.
Then bind off.
I like the look of stockinette, which this is. I dislike how it curls to the purled side, making it essentially a long tube. The 6 stitches on either side were meant to prevent that. I have read that if you knit in garter stitch a few stitches at the beginning and end of each row, you can prevent this from happening.
I have not found this to be true. The ends, which were in reverse stockinette, curled toward their purled sides and then that entire section curled to the purled side of the whole thing.


I don't know why I keep thinking 'this time, I can get stockinette to behave'. It never works.
Regardless, it suits my purposes for the body of the washcloth doll. Now I need to put everything together.
Subscribe to:
Comments (Atom)